dae的使用
daeuniverse/dae 基于 eBPF 的 Linux 高性能透明代理解决方案。
安装与使用过程参考:简单易用的Linux研发网络全面加速方案
dae 的安装
首先是安装。 一些系统支持包管理器安装,见 dae-Quick Start Guide。
我当前的系统是ubuntu24.04 不支持管理器直接安装。 daeuniverse/dae-installer 提供了脚步安装。
sudo sh -c "$(wget -qO- https://github.com/daeuniverse/dae-installer/raw/main/installer.sh)" @ install我是把仓库拉下来安装的。
proxychains git clone https://github.com/daeuniverse/dae-installer.git
code dae-installer/
proxychains ./installer.sh help
proxychains ./installer.sh install

----------------------------------------------------------------------
----------------------------------------------------------------------
dae have been installed/updated, installed version:
v0.9.0
You can start dae by running:
systemctl start dae.service
You can enable dae service so it can be started at system boot:
systemctl enable dae.service # systemd 服务方式
----------------------------------------------------------------------
----------------------------------------------------------------------
Your configuration file is:
/usr/local/etc/dae/config.dae # 配置文件位置
And this file should be read by root only, you should
change the permission of this file by running:
chmod 600 /usr/local/etc/dae/config.dae
----------------------------------------------------------------------
----------------------------------------------------------------------

systemctl show -p FragmentPath dae.service
FragmentPath=/etc/systemd/system/dae.service # 具体的程序启动方式
dae 的配置文件
下面是我的配置。具体的配置含义,可参考 dae/docs/en/configuration at main · daeuniverse/dae
root@ubuntu24-1 ~# cat /usr/local/etc/dae/config.dae
global {
    lan_interface: ens33
    wan_interface: auto
    log_level: info
    auto_config_kernel_parameter: true
    dial_mode: domain
    allow_insecure: false
}

subscription {
}

node {
    ladder: 'xxx'
}

group {
    self_proxy {
        policy: fixed(0)
    }
}

dns {
  upstream {
    alidns: 'udp://dns.alidns.com:53'
    googledns: 'tcp+udp://dns.google:53'
  }
  routing {
    request {
      qname(geosite:cn) -> alidns
      fallback: googledns
    }
    response {
        upstream(googledns) -> accept
        fallback: accept
    }
  }
}

routing {
    pname(NetworkManager) -> direct
    dip(geoip:private) -> direct
    ip(geoip:cn) -> direct
    domain(geosite:cn) -> direct

    fallback: self_proxy
}
注意事项
如果希望通过 dae 代理本机的流量,需要配置 wan_interface 。这个配置要求内核版本 >=5.17。
# ubuntu24 内核版本
6.8.0-60-generic

# rocky9.5 内核版本
5.14.0-503.14.1.el9_5.x86_64
所以,rocky9.5 — 最新的rocky版本,无法使用 wan_interface 配置。
dae的源码编译
源码编译
参考:build-by-yourself.md at main · daeuniverse/dae
首先是配置下go代理,避免拉模块拉不动。参考:Golang设置网络代理 – 知乎
go env -w GOPROXY=https://goproxy.cn,direct然后是安装依赖与构建。
apt install clang llvm golang-go make

git clone https://github.com/daeuniverse/dae.git
cd dae
git submodule update --init
make
vscode 中调试dae代码
默认编译出来的二进制文件没有调试符号,也去除了路径信息,无法调试。我们稍微修改下Makefile。
BUILD_ARGS := -trimpath -ldflags "-s -w -X github.com/daeuniverse/dae/cmd.Version=$(VERSION) -X github.com/daeuniverse/dae/common/consts.MaxMatchSetLen_=$(MAX_MATCH_SET_LEN)" $(BUILD_ARGS)

# 移除其中的 -trimpath -s -w
## -trimpath: 去掉编译过程中生成的可执行文件以及中间文件中的导入路径信
## -s:此选项会禁止生成符号表(symbol table)
## -w:该选项会禁止生成调试信息
BUILD_ARGS := -gcflags="all=-N -l" -ldflags "-X github.com/daeuniverse/dae/cmd.Version=$(VERSION) -X github.com/daeuniverse/dae/common/consts.MaxMatchSetLen_=$(MAX_MATCH_SET_LEN)" $(BUILD_ARGS)
make NOSTRIP=y然后是如何配置在vscode中调试go。
首先安装Go in Visual Studio Code插件。Go 扩展通过使用 Delve 调试器让你能够调试 Go 代码。
在 VS Code 中调试 Go 程序 详细过程可参考:debugging · golang/vscode-go Wiki 。这个文档太长了,我大概摸索了下,和调试 C 程序的流程差不多。
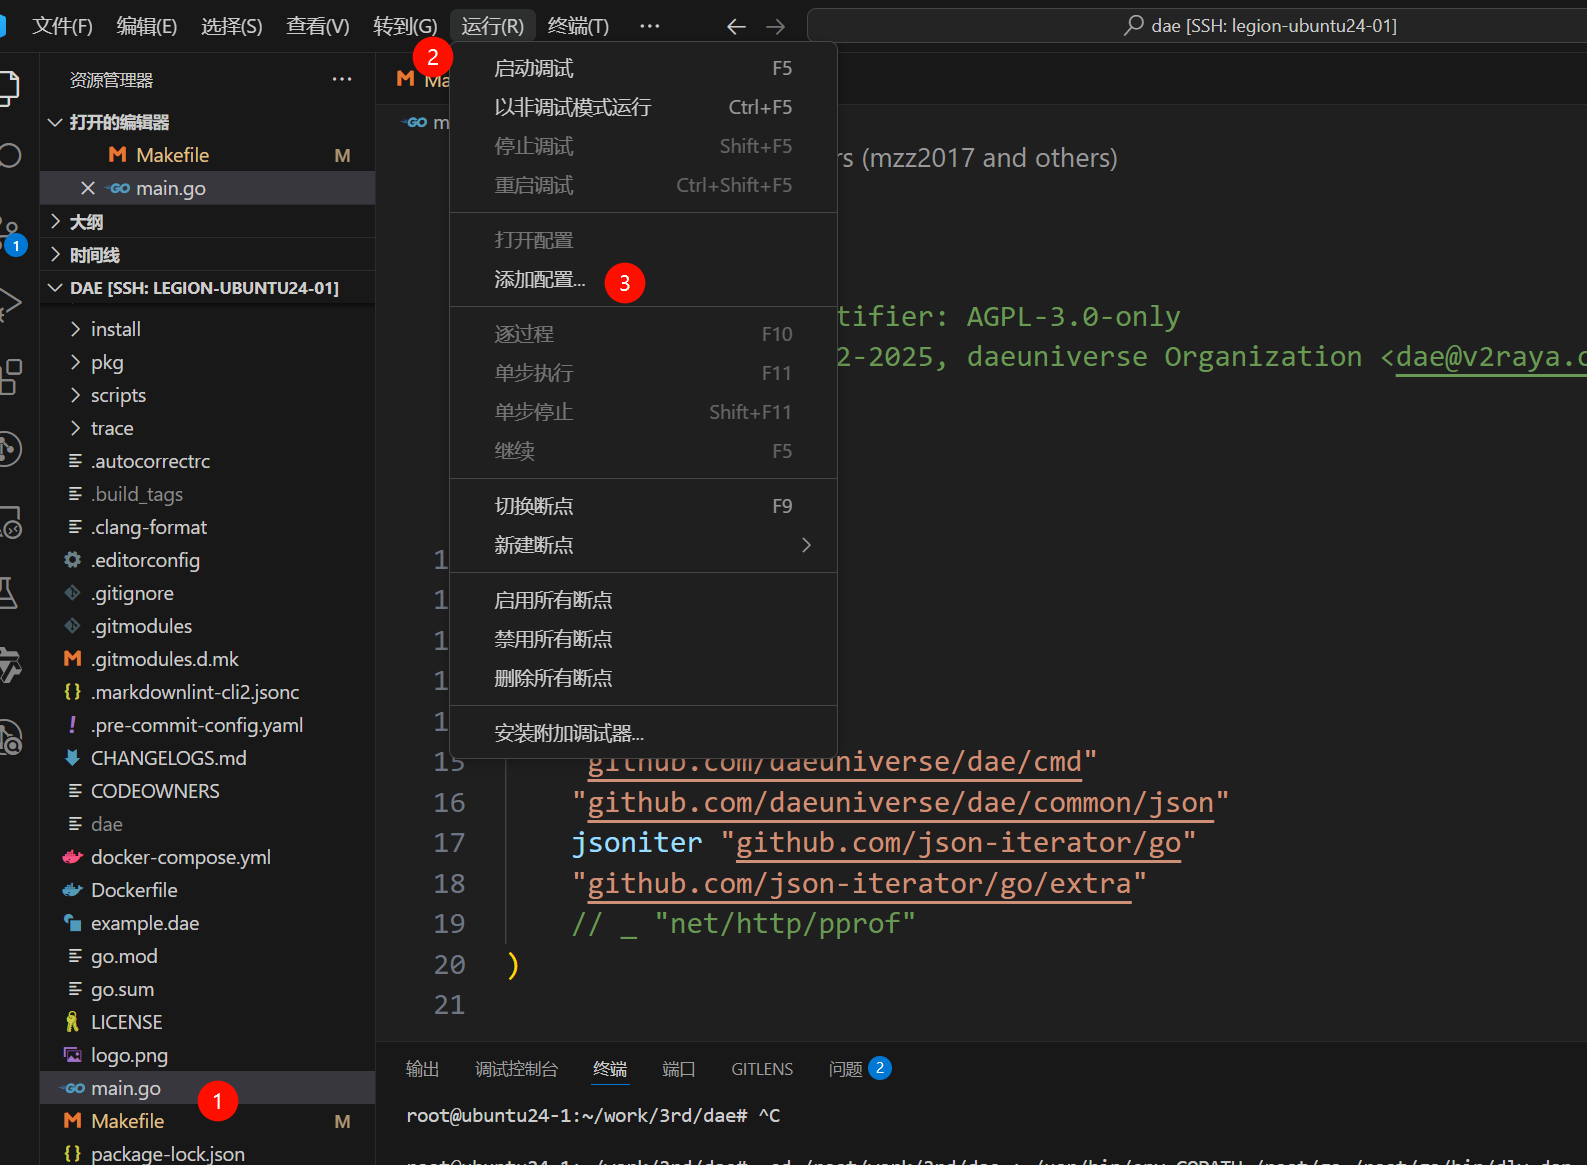
第一步,在一个go的tab上,点击“运行”-“添加配置”。
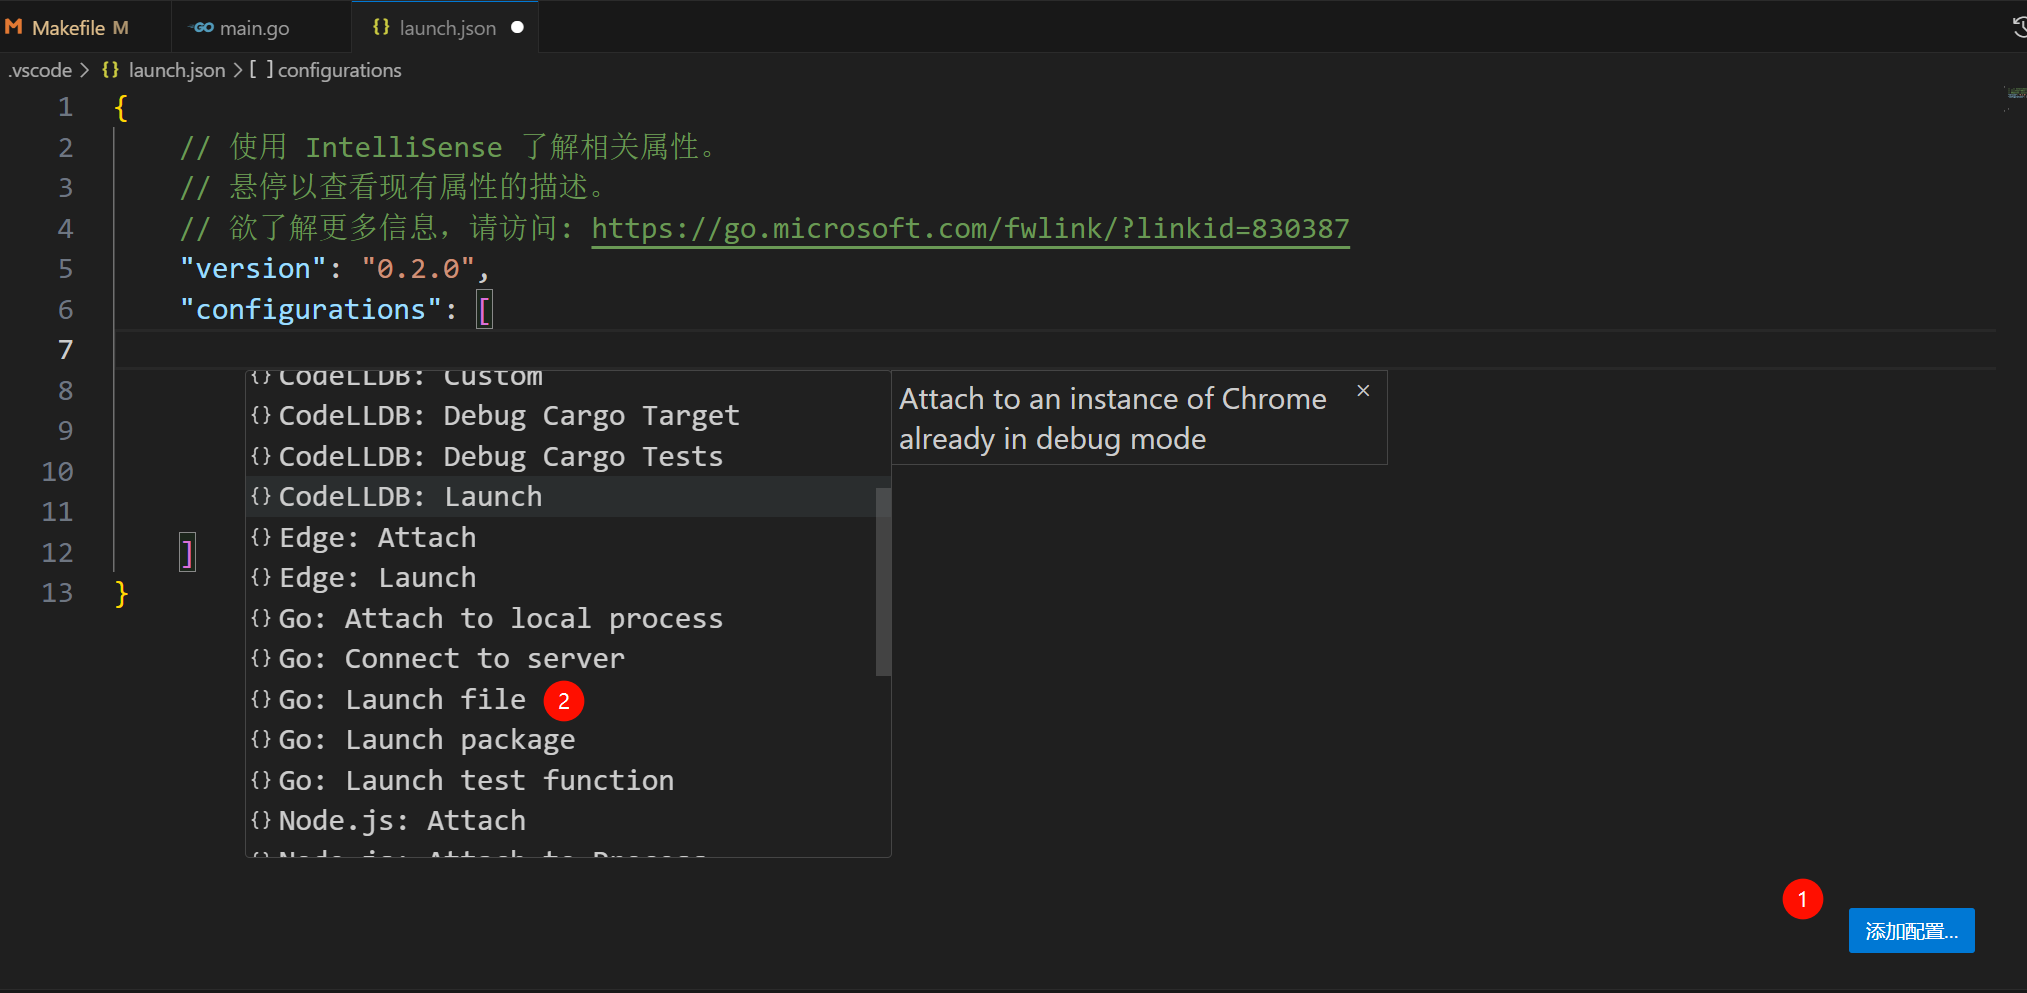
第二步,我是调试本地文件,所以选第一个。

然后生成下面的 launch.json 文件。点击“添加配置”。选择 “Launch file”。
然后,编辑按需编辑配置即可。比如下面这个配置。
{
// 使用 IntelliSense 了解相关属性。
// 悬停以查看现有属性的描述。
// 欲了解更多信息,请访问: https://go.microsoft.com/fwlink/?linkid=830387
"version": "0.2.0",
"configurations": [
{
"name": "dae",
"type": "go",
"request": "launch",
"mode": "exec",
"program": "${workspaceFolder}/dae",
"cwd": "${workspaceFolder}",
"args": [
"run",
"-c",
"/usr/local/etc/dae/config.dae",
],
"stopOnEntry": true,
"console": "integratedTerminal",
}
]
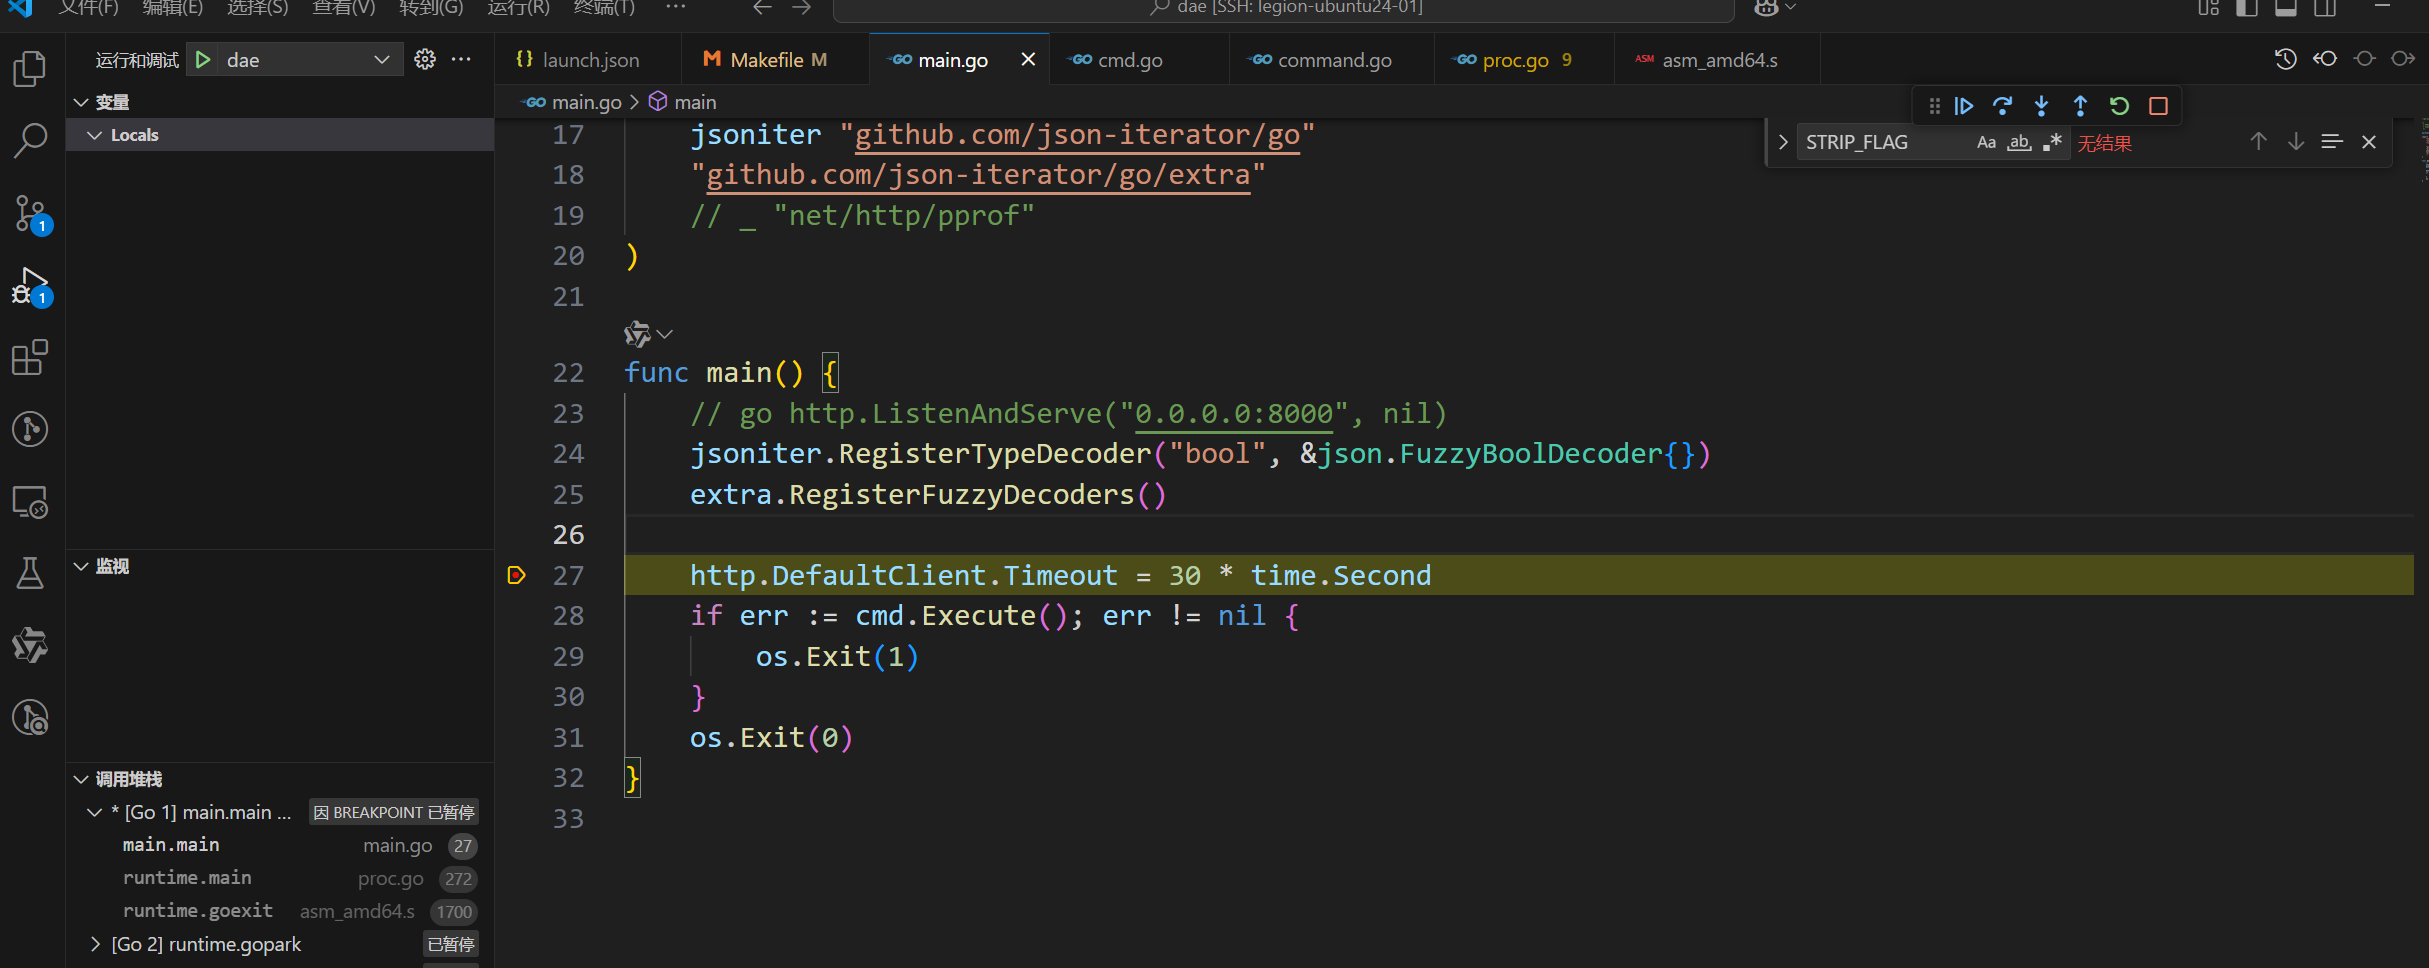
}之后就可以调试代码了。
最后
今天是端午节,则在敲电脑呢?